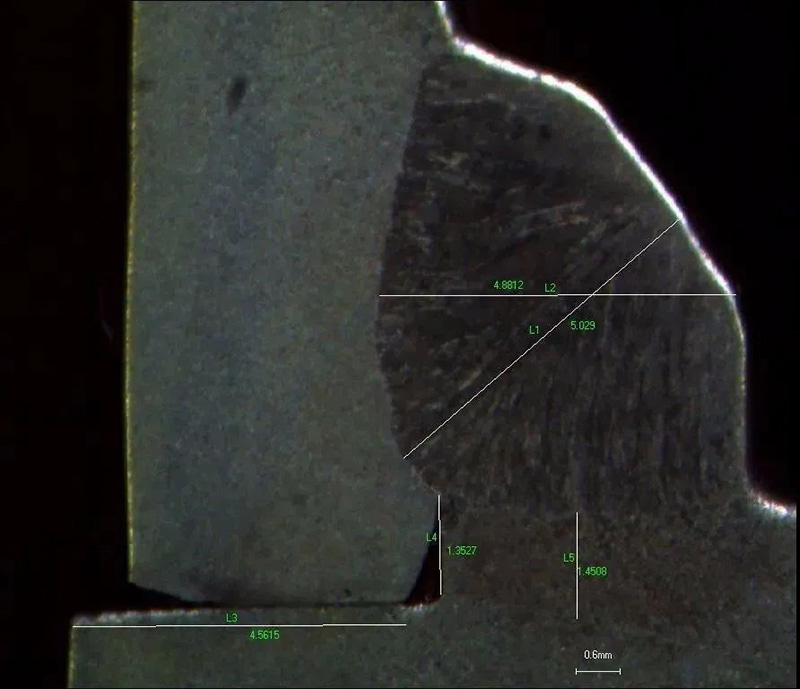
What is welding penetration? It refers to the melting depth of base metal or front weld bead on the cross section of welded joint.
Welded joints include: weld seam (0A), fusion zone (AB) and heat affected zone (BC).
Step 1: Sampling
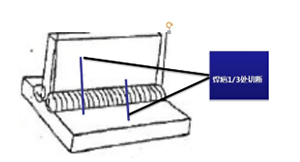
(1) Cutting position of welding penetration sample: a. Avoid starting and stopping positions
b. Cut off at 1/3 of weld scar
c. When the weld scar length is less than 20mm, cut off at the middle of the weld scar.
(2) Cutting
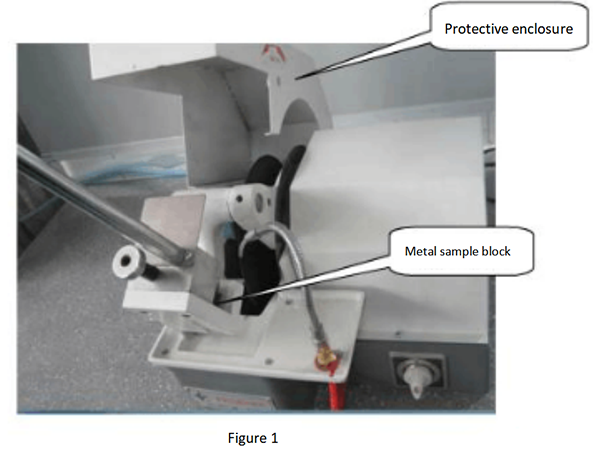
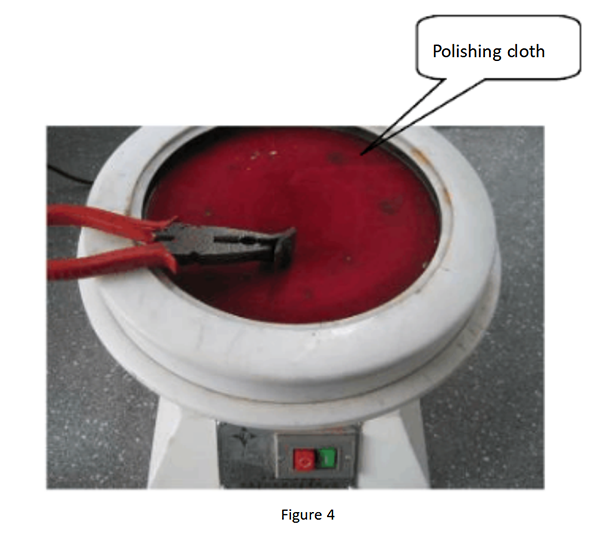
A. Connect the power supply and check whether the measuring equipment meets the test requirements; As shown in Figure 1, open the protective housing of the metallographic cutting machine and install the metal sample block to be tested.
(Note: Be sure to fix the metal block completely!)
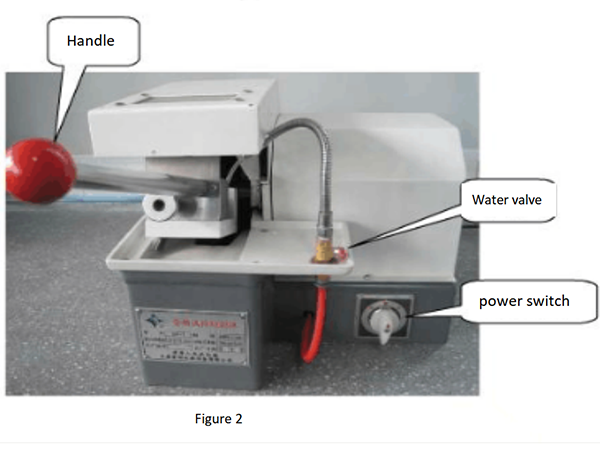
b. As shown in Figure 2, close the protective shell of the metallographic cutting machine, open the water valve, and turn on the power switch; Hold the handle of the metallographic cutting machine and slowly press it downward to cut the metal sample. After cutting, the length, width and height of the metal sample shall be less than 4mm; Close the water valve, turn off the power, and take out the metal sample.
b. As shown in Figure 2, close the protective shell of the metallographic cutting machine, open the water valve, and turn on the power switch; Hold the handle of the metallographic cutting machine and slowly press it downward to cut the metal sample. After cutting, the length, width and height of the metal sample shall be less than 4mm; Close the water valve, turn off the power, and take out the metal sample.
Step 3: Corrosion
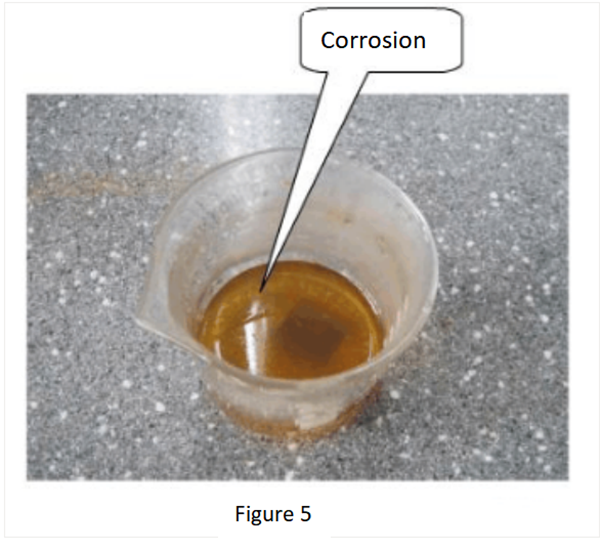
(1) As shown in Fig. 5, use absolute alcohol and nitric acid to prepare corrosion solution (3-5% nitric acid and alcohol) in the measuring cup, put the metal sample into the corrosion solution or use a small brush to wash the cut surface for corrosion. The corrosion time is about 10-15 seconds, and the specific corrosion effect needs to be visually inspected.
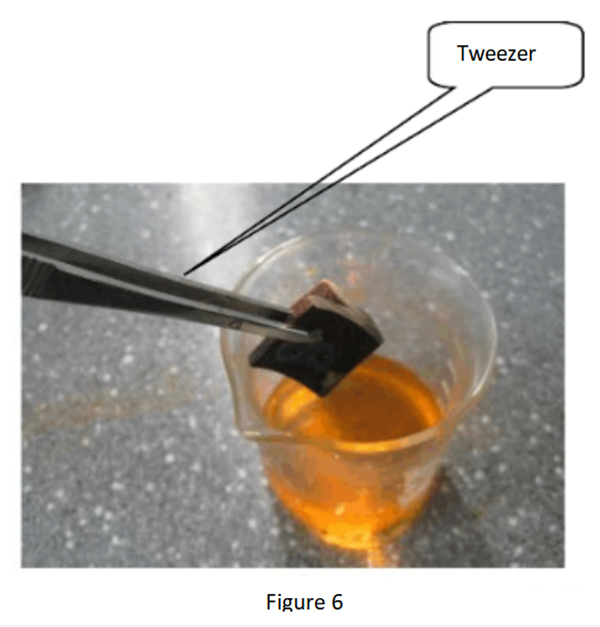
(2) As shown in Fig. 6, after the corrosion, take out the metal sample block with tweezers (note: do not touch the corrosion liquid with hands), and clean the corrosion solution on the surface of the metal sample block with clean water.
(1) Blow dry
Step 4: Inspection method of welding penetration
|
T (mm) is the plate thickness |
|||
|
Old benchmark |
New benchmark |
||
|
Plate thickness |
Penetration datum |
Plate thickness |
Penetration datum |
|
≤3.2 |
Above 0.2 * t |
t≤4.0 |
Above 0.2 * t |
|
4.0<t≤4.5 |
Above 0.8 |
||
|
3.2~4.5(Including 4.5) |
Above 0.7 |
4.5<t≤8.0 |
Above 1.0 |
|
t=9.0 |
Above 1.4 |
||
|
>4.5 |
Above 1.0 |
t≥12.0 |
Above 1.5 |
|
Note: The welding of thin plate and thick plate is based on the thin plate |
|||
(1.2) Welding penetration datum (with leg length indicating penetration)
|
L (mm) is the foot length |
|
|
Foot length |
Penetration datum |
|
L≤8 |
Above 0.2 * L |
|
L>8 |
above 1.5mm |
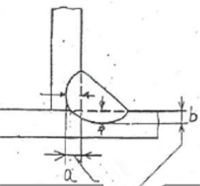
(2) Welding penetration measurement (distance a and b are welding penetration)
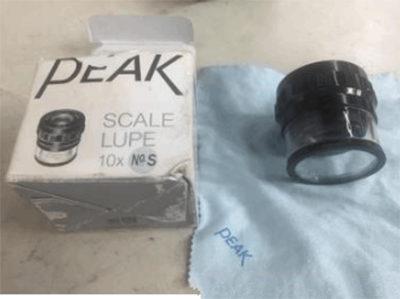
(3)Inspection tools for welding penetration
Step 5: Inspection report of welding penetration and storage of samples
(1) Welding penetration inspection report:
a. Addition of cross-section diagram of the inspected part
b. Mark the measuring position of welding penetration in the diagram
c. Data addition
(2) Regulations on preservation of welding penetration samples:
a. Storage of frame S parts for 13 years
b. General parts shall be kept for 3 years
c. If otherwise specified in the drawing, it shall be implemented according to the drawing requirements
(The penetration inspection surface can be stuck with transparent adhesive to delay rusting)
Post time: Dec-22-2022


